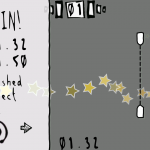
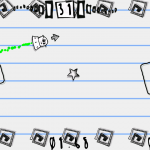
Although it was often very tedious work, I enjoyed creating the graphics for my gravity.inked game. It took a long time to work out a process of taking an image drawn on notebook paper and get it ready to appear in game so I thought I’d share. If you’re looking to create similar graphics for a game, something like these steps may work.
tools
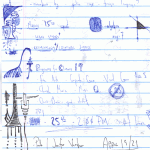
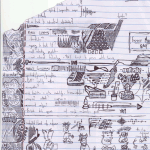
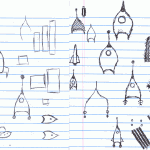
Almost all of the drawings for the game were done on college ruled paper. Although I’m sure there’s some really nice drawing papers out there, I’ve been doodling on notebook paper since high school and am most comfortable using it.
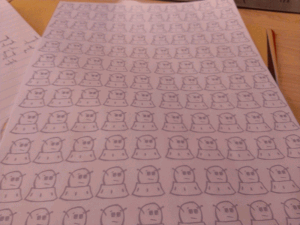
Some of the graphics were drawn specifically for the game and some were lifted from the margins of notes from work and school. Although almost all of the graphics were drawn on notebook paper, when I was working on hats and beards I started printing out a grid of alien guys to draw on.
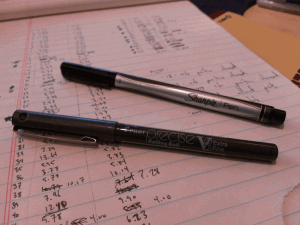
My favorite pen has always been this guy. It has a very fine point and puts out a lot of ink.
Throughout the project I tried to find other pens I liked using as much as the pilot. Nothing really stood out, but I did eventually start using a sharpie pen for outlining. It’s more like a very fine tipped marker than a pen.
software
Aside from Microsoft Windows all of the software used to create the graphics in gravity.inked and clock.inked was free. I used both Inkscape and Paint.NET extensively.
Paint.NET is a free raster image manipulation program. It was used in the creation of every image in gravity.inked, on the website, and all of the promotional graphics on the various app stores. If you want to try Paint.NET, there are loads of free plugins that extend its functionality. Here are the ones I use. Raster images are defined pixel by pixel and are the most common type of image (jpg, png, bmp, etc).
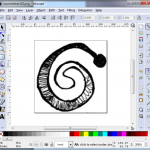
Inkscape is a free vector image manipulation program which was used to smooth out the graphics I used in the game. Vector images are graphics files defined using mathematical equations.
process
The process for creating the graphics was developed over the course of the project and so some of the earlier images were created using different techniques. The following steps will give you the general idea used towards the end of the project, but exact steps often varied slightly from image to image.
Sketch
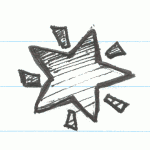
The general shape of what I want is sketched out using the pilot pen. When drawing this example I let the pen sit on one of the points which created the dot. oops.
Trace
The outline is filled in using the sharpie pen. This helps give the image a more defined edge once it is scanned. For some reason drawing a consistent star was difficult for me. I’m not really a great drawer, but I’m better at longer lines and shading.
Shade
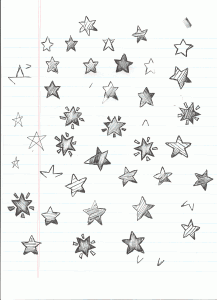
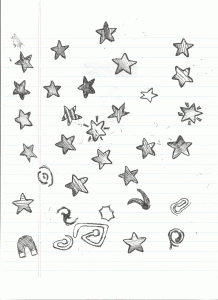
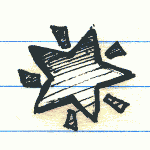
Texturing is added to the image using the pilot pen again. For a single in game graphic steps 1 – 3 were often repeated 20 to 30 times. Here are some of the stars I drew to create the one in game.
Scan
Pages are scanned in at 300 dpi and the drawing I want to use is isolated. This was increased to 600 dpi toward the end of the project, but I don’t really think it made much difference.
Level
Levels are adjusted to increase contrast and make pen lines more obvious. Often the Paint.NET Adjustments->Auto Level option was sufficient, but this was also performed manually at times.
Isolate
The background is removed. In order to remove the background the wand select with lower tolerance was used as well as some careful work with the eraser tool.
Smooth
For this step I needed to find an automated way to reduce the complexity of the image by smoothing the lines. This could be done manually image by image, but it would take forever.
Instead I experimented with a number of different Paint.NET plugins and other image editing programs and settled on using Inkscape’s bitmap tracing capability. This functionality is meant to translate a raster image into a series of curves so it can be stored as a vector image, but I just used for its smoothing properties.
Resize
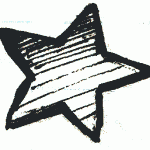
The image is reopened in Paint.NET and is resized to its in game size on a 1280×720 screen. In the case of our star we’re resizing to about 80×80. The default bicubic sampling algorithm worked fine throughout the project.
Touch up
At this point the image was often ready to be imported into the game, but sometimes it still required a bit of work. In the case of this star I did a small amount of editing in order to make it appear more symmetrical. This step was often very tedious as it required adjusting the image pixel by pixel in order to maintain its hand drawn look.
final product
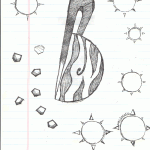
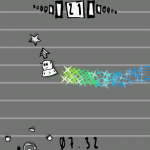
You can see the star as well as some of the other hand drawn assets here.

